Connect the external hard drive.
Table of contents
- Parts List
- How to Run a Bitcoin Full Node on a Raspberry Pi 3/B+
- MyNode Bitcoin Node Easy Setup Guide (Raspberry Pi)
- MyNode Bitcoin Node Easy Setup Guide (Raspberry Pi) – How to Bitcoin
- Update OS and Install Dependencies
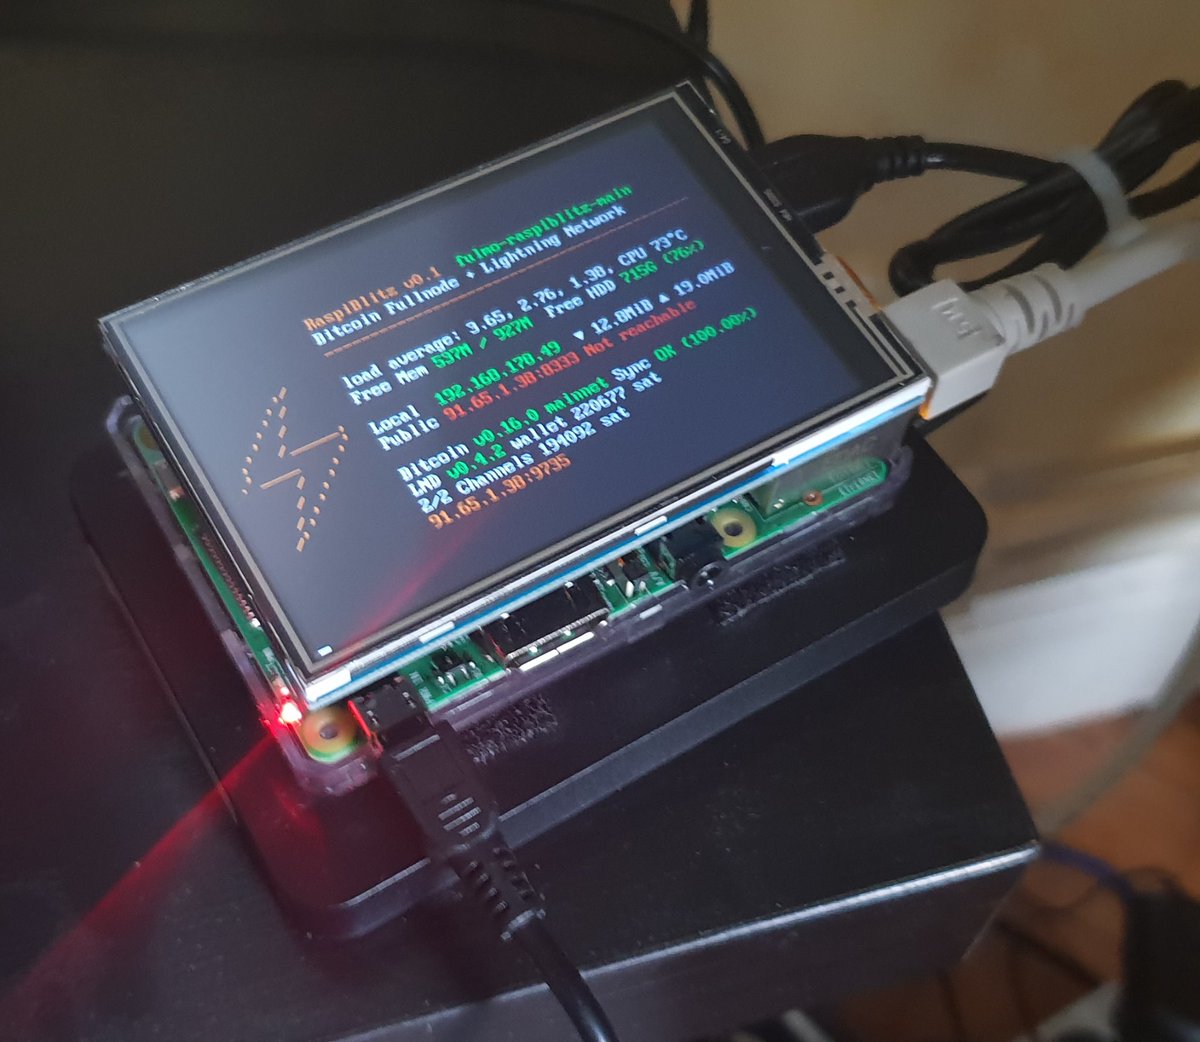
Parts List
So far, you've mounted the external hard drive manually, but the next time you boot the machine you'll have to do it again. Fortunately, we can automatically mount the device each time we boot using fstab. Now it's time to download and install bitcoind. Right click, and copy the link URL. At this point, if you're using the Raspberry Pi OS Desktop and would prefer to use a GUI, you can skip this step and follow the instructions found here.
With the external hard drive configured and bitcoind installed, you can now run the bitcoind daemon. Using the following command will start the bitcoind daemon specifying our external hard drive as the data directory. Since we're starting the daemon with a non-standard data directory, we'll need to specify the datadir every time we use the bitcoin-cli command, like this:.
However, if you want to avoid this, you can simply add an alias in your bashrc file. The daemon will take some time to start up, but once it does your node will begin to download the entire Bitcoin blockchain. The entire blockchain is just under GB at the moment, so you can imagine that this will take some time. If you need to pause for whatever reason, you can simply run:. This will pause everything.
When you start up the daemon again, it will pick up where it left off. In the previous step, you manually started the daemon. But if you're using the Raspberry Pi as a dedicated Bitcoin full node, you'll likely want the daemon to start whenever the machine boots. Assuming you're using your full node to support the Bitcoin network, you'll need to make sure your node accepts inbound connections. Enter your IP address and the port, if you happened to modify it the default port is Chances are you're running your full node on your home network, which means you likely saw an error in the previous step.
To resolve this, you'll need to forward port from your WiFi router to your Raspberry Pi. Every router is different, so you may have to do some digging around. Fortunately, we've written a guide on how to open a port on your router that should give you some direction. After you've set up port forwarding, test your connection again using the instructions from the previous step.
When you spin up your full node for the first time, your node will have no knowledge of the existing blockchain history.
- public companies that accept bitcoin;
- i need bitcoin wallet!
- GitHub - kdmukai/raspi4_bitcoin_node_tutorial: Raspberry Pi 4 Bitcoin Full Node tutorial.
- eur btc yahoo!
- Install Umbrel on Linux.
So the very first thing it needs to do is sync with the rest of the network by downloading and verifying all blocks. This is a very time and resource consuming operation because it needs to download and verify over Gb of data at the time I'm writing this. So in this step I'll provide a few optional suggestions for speeding up the initial block download.
So to speed things up, I opted to spin up a powerful, compute-optimized virtual machine on GCE. The entire blockchain was downloaded and verified within 12 hours. If you'd like to use this method, be warned that you'll still need to transfer the entire blocks and chainstate directories from the virtual machine to your Pi, replacing the existing directories.
- Running a Bitcoin Lightning Full Node on Raspberry Pi | Brett Morrison - Official Site?
- btcp block size!
- how do i exchange bitcoin for ripple?
- Your Answer.
- is bitcoin network down!
If using a high-power virtual machine on GCP or AWS isn't an option, you can try any other more powerful desktop or laptop you have available. Downloading the blockchain will take a LONG time. Check your ISP account and make sure you have enough data available on your plan; otherwise, you might get throttled or shut down. Once the blockchain downloads, you'll be in business. Take some time to learn the bitcoin-cli.
How to Run a Bitcoin Full Node on a Raspberry Pi 3/B+
You can start by listing all of the commands:. You can do other things with your computer while running a full node. More hours would be better, and best of all would be if you can run your node continuously. Note: many operating systems today Windows, Mac, and Linux enter a low-power mode after the screensaver activates, slowing or halting network traffic. This is often the default setting on laptops and on all Mac OS X laptops and desktops. Legal: Bitcoin use is prohibited or restricted in some areas. Worse, some providers may terminate your connection without warning because of overuse.
We advise that you check whether your Internet connection is subjected to such limitations and monitor your bandwidth use so that you can stop Bitcoin Core before you reach your upload limit. Anti-virus: Several people have placed parts of known computer viruses in the Bitcoin block chain. This problem mostly affects computers running Windows.
- ath ne demek bitcoin;
- real time bitcoin dollar!
- things to buy online with bitcoin?
- best way to withdraw bitcoin uk!
- Turn your Raspberry Pi into a Bitcoin Full Node!
Attack target: Bitcoin Core powers the Bitcoin peer-to-peer network, so people who want to disrupt the network may attack Bitcoin Core users in ways that will affect other things you do with your computer, such as an attack that limits your available download bandwidth. Initial block download refers to the process where nodes synchronize themselves to the network by downloading blocks that are new to them.
This will happen when a node is far behind the tip of the best block chain. In the process of IBD, a node does not accept incoming transactions nor request mempool transactions. If you are trying to set up a new node following the instructions below, you will go through the IBD process at the first run, and it may take a considerable amount of time since a new node has to download the entire block chain which is roughly gigabytes now.
During the download, there could be a high usage for the network and CPU since the node has to verify the blocks downloaded , and the client will take up an increasing amount of storage space reduce storage provides more details on reducing storage.
MyNode Bitcoin Node Easy Setup Guide (Raspberry Pi)
Before the node finishes IBD, you will not be able to see a new transaction related to your account until the client has caught up to the block containing that transaction. The following instructions describe installing Bitcoin Core using tools available in most mainstream Linux distributions. We assume you use a Bourne-like shell such as bash.
Using any computer, go to the Bitcoin Core download page and verify you have made a secure connection to the server. If necessary, move the file to the computer you want to use to run Bitcoin Core. The 0. Earlier releases were signed by Wladimir J. You should verify these keys belong to their owners using the web of trust or other trustworthy means. Then use PGP to verify the signature on the release signatures file. Finally, use PGP or another utility to compute the SHA hash of the archive you downloaded, and ensure the computed hash matches the hash listed in the verified release signatures file.
Make sure you use an account that can use su or sudo to install software into directories owned by the root user. If you logged in graphically, start a terminal. Locate the file you downloaded and extract it using the tar command followed by the argument xzf followed by the file name. The argument xzf means eXtract the gZipped tar archive File. For example, for a bit tar archive in your current directory, the command is:. This will create the directory bitcoin If you use sudo to run commands as root, use the following command line:. If you use su to run commands as root, use the following command line:.
To use the Bitcoin Core daemon bitcoind , which is useful for programmers and advanced users, proceed to the Bitcoin Core Daemon section below. All of them should be available in all major recently-released Linux distributions, but they may not be installed on your computer yet.
MyNode Bitcoin Node Easy Setup Guide (Raspberry Pi) – How to Bitcoin
If all the required libraries are installed, Bitcoin Core will start. If a required library is missing, an error message similar to the following message will be displayed:. You will be prompted to choose a directory to store the Bitcoin block chain and your wallet.
Unless you have a separate partition or drive you want to use, click Ok to use the default. Bitcoin Core GUI will begin to download the block chain. This step will take at least several days, and it may take much more time on a slow Internet connection or with a slow computer. During the download, Bitcoin Core will use a significant part of your connection bandwidth.
You can stop Bitcoin Core at any time by closing it; it will resume from the point where it stopped the next time you start it. After download is complete, you may use Bitcoin Core as your wallet or you can just let it run to help support the Bitcoin network. Starting your node automatically each time you login to your computer makes it easy for you to contribute to the network.
This only works in desktop environments that support the autostart specification , such as Gnome, KDE, and Unity. On the Main tab, click Start Bitcoin on system login. Click the Ok button to save the new settings. The next time you login to your desktop, Bitcoin Core GUI should be automatically started as an icon in the tray. You have now completed installing Bitcoin Core. To support the Bitcoin network, you also need to allow incoming connections.
Please read the Network Configuration section for details. The steps in this section should be performed as the user you want to run Bitcoin Core.
Update OS and Install Dependencies
This can be a locked account used only by Bitcoin Core. If you changed users in a graphical interface, start a terminal. It will print a message that Bitcoin Core is starting. To interact with Bitcoin Core daemon, you will use the command bitcoin-cli Bitcoin command line interface. Note: it may take up to several minutes for Bitcoin Core to start, during which it will display the following message whenever you use bitcoin-cli :. After it starts, you may find the following commands useful for basic interaction with your node: getblockchaininfo , getnetworkinfo , getnettotals , getwalletinfo , stop , and help.
A complete list of commands is available in the Bitcoin. When Bitcoin Core daemon first starts, it will begin to download the block chain. You can stop Bitcoin Core at any time using the stop command; it will resume from the point where it stopped the next time you start it. Starting your node automatically each time your computer boots makes it easy for you to contribute to the network. The easiest way to do this is to start Bitcoin Core daemon from your crontab.
To edit your crontab on most distributions, run the following command:. Save the file and exit; the updated crontab file will be installed for you.